Prerequisites
You will need .NET Core and Docker installed on your local machine to continue with this implementation. You will also need a Kubernetes cluster either running locally or on a cloud platform. I used Google Kubernetes Engine in this case to expose the service as load balancer but all other steps were executed on my local machine.
Create a Sample ASP.NET Core App on your local system
- Ensure that you .NET core installed on your local system. You can find the installer here.
- Verify that the dotnet command line tool got installed on your local system and verify its version
dotnet --version
3. Create a skeleton ASP.NET Core web app using the following command:
dotnet new razor -o HelloWorldAspNetCore
Run the Sample ASP.NET Core App locally and verify
- Navigate to your project folder
cd HelloWorldAspNetCore
2. Run the app
dotnet run --urls=http://localhost:8080
The application starts listening on port 8080. Navigate to your preferred browser and enter the URL http://localhost:8080 and verify that a Welcome page is displayed.
Publish the Sample ASP.NET Core app
- Publish the app to get a self-contained DLL
dotnet publish -c Release
Navigate to the the publish folder to create a Dockerfile
cd bin/Release/netcoreapp3.1/publish/
Package the Sample ASP.NET Core app as a Docker container
- Create a Dockerfile in the publish folder with following specification
FROM mcr.microsoft.com/dotnet/aspnet:3.1
ADD ./ /app
ENV ASPNETCORE_URLS=http://*:${PORT}
WORKDIR /app
ENTRYPOINT [ "dotnet", "HelloWorldAspNetCore.dll" ]Explanation:
FROM mcr.microsoft.com/dotnet/aspnet:3.1 – Docker file uses the official image for ASP.NET Core 3.1 apps, which is already configured to run .NET Core apps.
ADD ./ /app – Adds the app published files and the tools necessary to run the app from the directory.
ENV ASPNETCORE_URLS=http://*:${PORT} – Configuration included in the Dockerfile is the port on which the app listens for incoming traffic This is accomplished by setting the environment variable, which ASP.NET Core apps use to determine which port to listen to.
WORKDIR /app – Setting the working directory for any ENTRYPOINT instructions that follows.
ENTRYPOINT [ "dotnet", "HelloWorldAspNetCore.dll" ] – Set executable that will run when the container is initiated.
2. Build the image
docker build -t sample-dotnet-app:v1
Test the Sample app on the container
1. Once the image is built, test the image locally with the following command, which runs a Docker container as a daemon
docker run -d -p 8080:80 sample-dotnet-app:v1
2. Check that the Sample app is working on the container by browsing to http://localhost:8080 in your browser on you local machine.
3. After you verify that the app is running locally in a Docker container, stop the running container. To stop the container you will need the container id or container name.
docker ps
4. Stop the container, replacing <Container_ID> with your Container ID returned by the above command.
docker stop <Container_ID>
Push the image to Container Registry
Note – For this step you will need to have a hub.docker.com account. In case you don’t already have an account then I recommend you create one. It allows to host multiple public repositories without any additional charge.
- Tag your docker image to include account details before uploading it to docker’s container registry.
docker tag sample-dotnet-app:v1 <Your Account Name>/sample-dotnet-app:v1
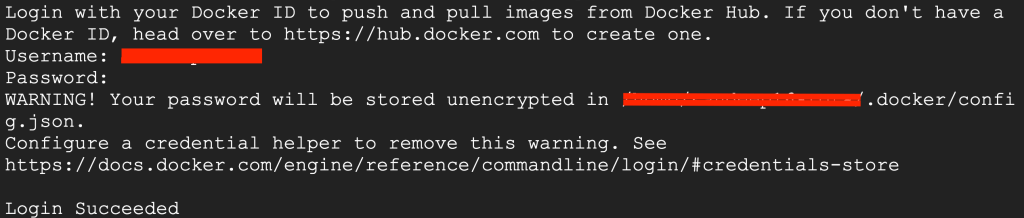
2. Use docker login authenticate to container registry
3. Push the image to container registry
docker push <Your Account Name>/sample-dotnet-app:v1
Deploy your Sample ASP.NET core app to Kubernetes Cluster
- Create a deployment using Kubectl command
kubectl create deployment sample-dotnet-app --image=<Your Account Name>/sample-dotnet-app:v1 --port=80 --replicas=2
This will create a deployment object with 2 pods. Deployments are the recommended way to create and scale pods.
- To view the deployment you just created, run
kubectl get deployments
- Expose the deployment
kubectl expose deployment sample-dotnet-app --type="LoadBalancer" --port=80 --target-port=80
Kubernetes will create a service and an external load balancer with an address attached to it. Any network traffic to that public IP address is routed to deployment behind the service: in this case, the sample-dotnet-app deployment. In case you don’t have a load balancer service then you can expose the service with NodePort and check the results using the local machine IP – http://<Machine IP address>:80.
- Open a new web browser tab and go to http://<Load Balancer IP>:80.The default home page will be displayed.
Congratulations! you have successfully hosted a sample ASP.NET core application on Kubernetes.
